Assigning Customers to CSMs
Assigning your customers to the corresponding Customer Success Managers/Account Managers is an important step of the initial Custify setup.
It is also important for this process to remain ongoing, as it will help you make sure that each one of your customers will have a dedicated CSM.
Assigning customers to Customer Success Managers/Account Managers in Custify will facilitate:
- Assignment/management of tasks
- Enabling each CSM to create individual dashboards for their designated customers
The two main ways of assigning customers to your CSMs are the CSM field and the Account Manager field in Custify.
Assigning Customers Manually
You can manually assign the CSM to one or several customers using the Actions button.
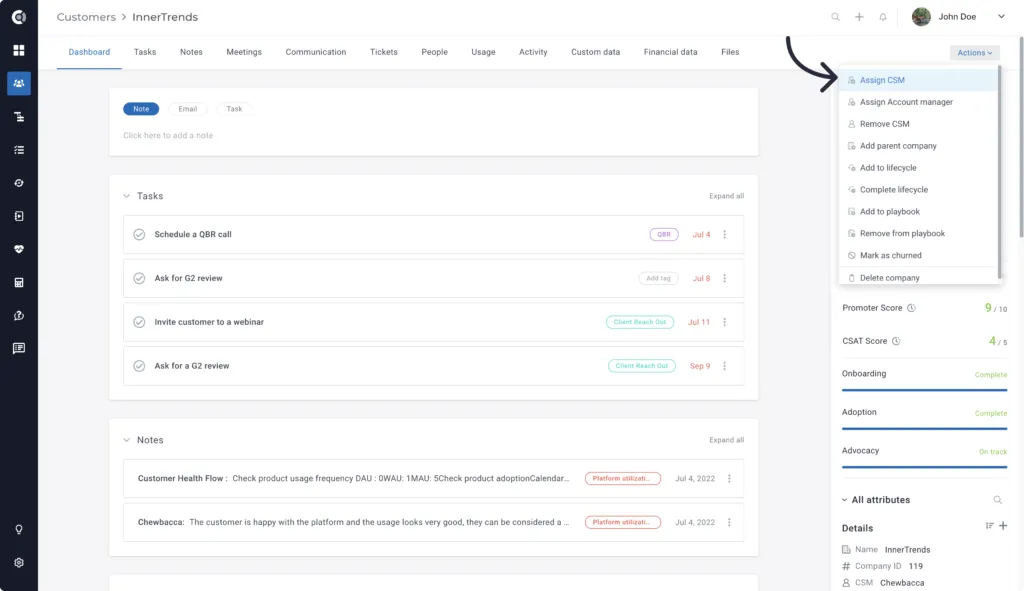
If you want to assign the CSM to one customer, you can access the Customer 360° Profile, click on Actions, and select the Assign CSM option.
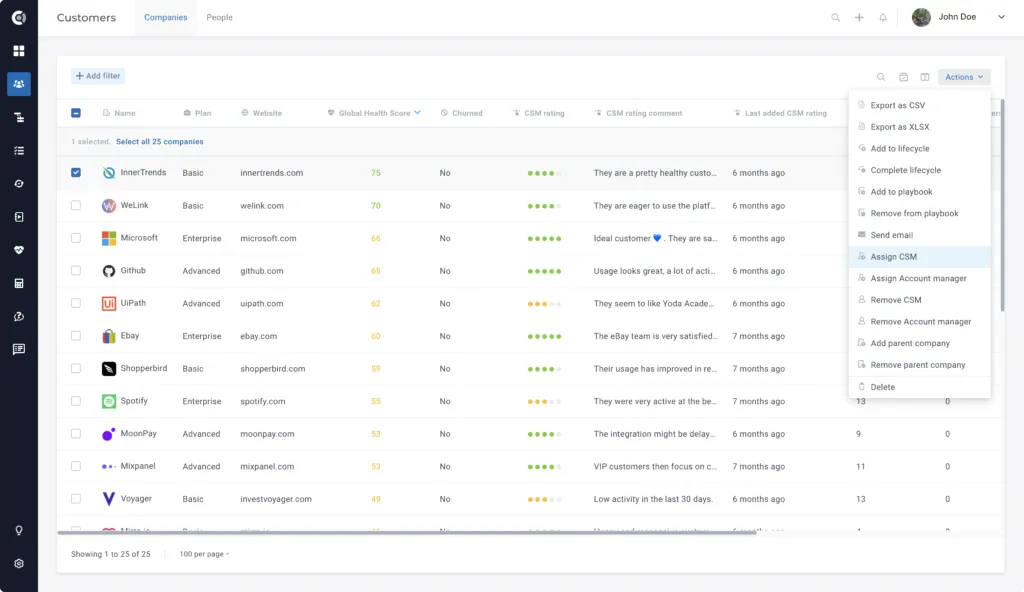
If you want to assign a CSM to multiple customers, you can do this through the Customer List View: select the customers you want to assign to the CSM, click on Actions, and select the Assign CSM option.
Custify Tip: If you have clear criteria for assigning the CSMs, you can add the filters that capture those criteria in the list view to make the process more efficient.
Assigning Customers Automatically
There are three ways to automatically assign CSMs to customers in Custify
Using Playbooks Started by Specific Conditions
If you want to automate the assignment process based on predefined criteria, you can use the Playbooks feature.
Firstly, decide on the criteria of the CSM assignment and create Segments to capture the customers that should be assigned to each CSM. (e.g. by plan, by time zone, by size, etc).
Secondly, create customer Playbooks for each CSM. You will have several options to choose from as Playbook triggers:
- Is in Segment - This configuration will assign the CSM to all the customers that are currently in the selected Segment, as well as to any new customers that will join it.
- Enters Segment - This configuration will assign the CSM only to the new customers that join the Segment after the Playbook is saved.
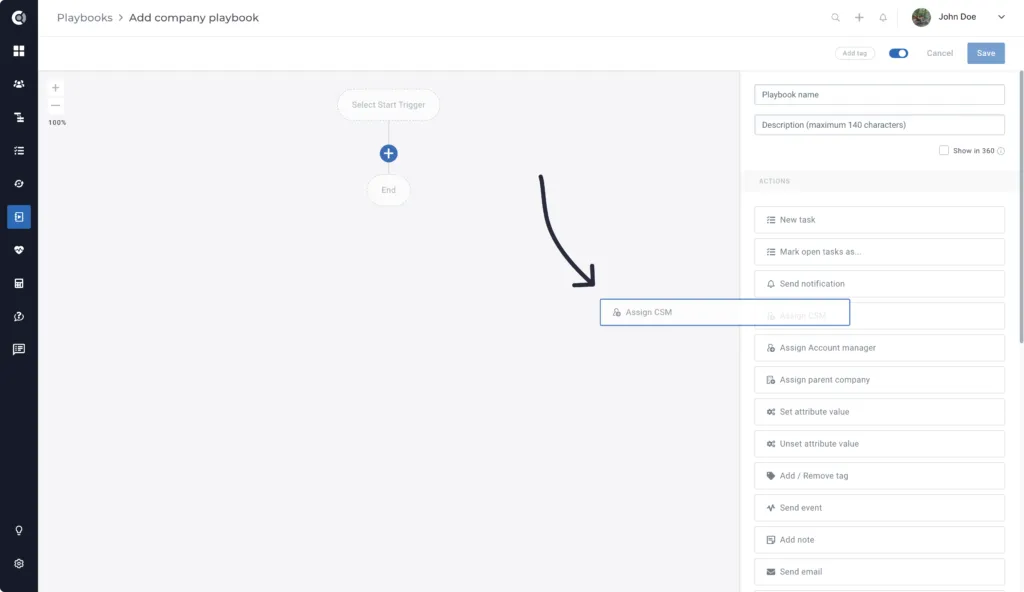
Once you select the Playbook trigger, click on the + to add an action, select Assign CSM, then select the corresponding CSM for the Segment.
With the new Branching Playbooks feature, you can avoid creating segments and Playbooks for each CSM and use logical conditions inside a single Playbook instead.
For example, let’s say you want to assign CSMs based on the region where the customer is located. Instead of setting up different Playbooks for each region, you can now have a Branching Playbook based on conditions.
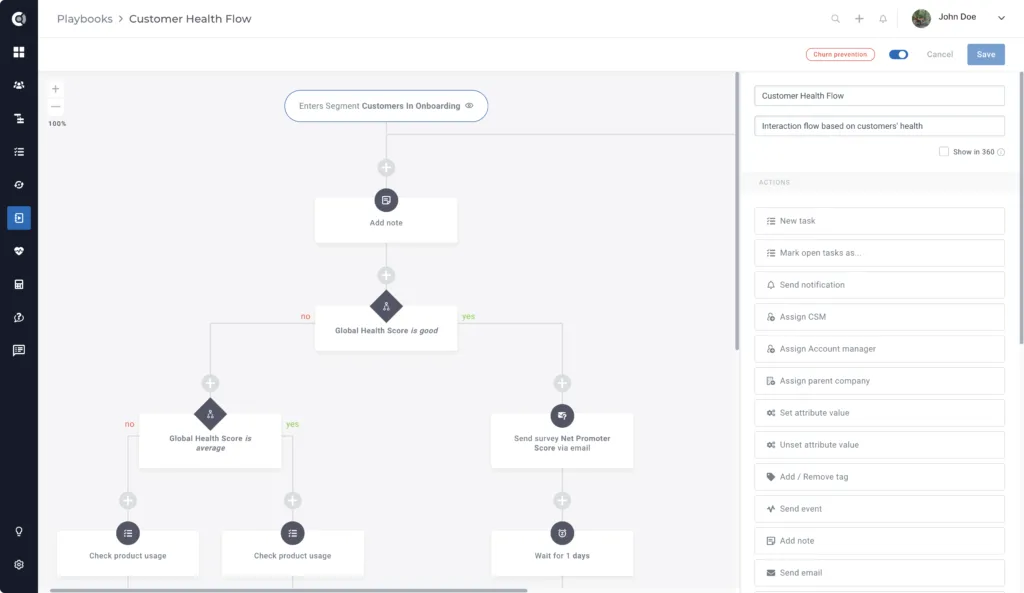
If the customer is located in North America, the Playbook will assign Tom as the CSM. If not, another condition is added. If the customer is located in Asia, Mary will be assigned as the CSM, and so on. The process continues for all regions, so you can assign all CSMs to customer accounts with a single Playbook.
Using the Round-Robin Feature
If the assignment is random and not based on specific attributes, you can use a generic Playbook to assign CSMs in a round-robin manner.
Firstly, create a Segment that captures all your active customers.
Secondly, build a Playbook that will have one of the triggers below:
- Is in Segment - This configuration sets up the CSMs for all customers currently in the selected Segment, as well as any new customers that will join the Segment, e.g. All Active Customers Segment. This is ideal for the initial setup when no customer has the CSM assigned.
- Enters Segment - This configuration will assign the CSMs only to the new customers that will join the Segment after the Playbook is saved. This is the ideal configuration if you have CSMs already assigned to existing customers, and you want to make sure that all the new accounts are being assigned to a CSM.
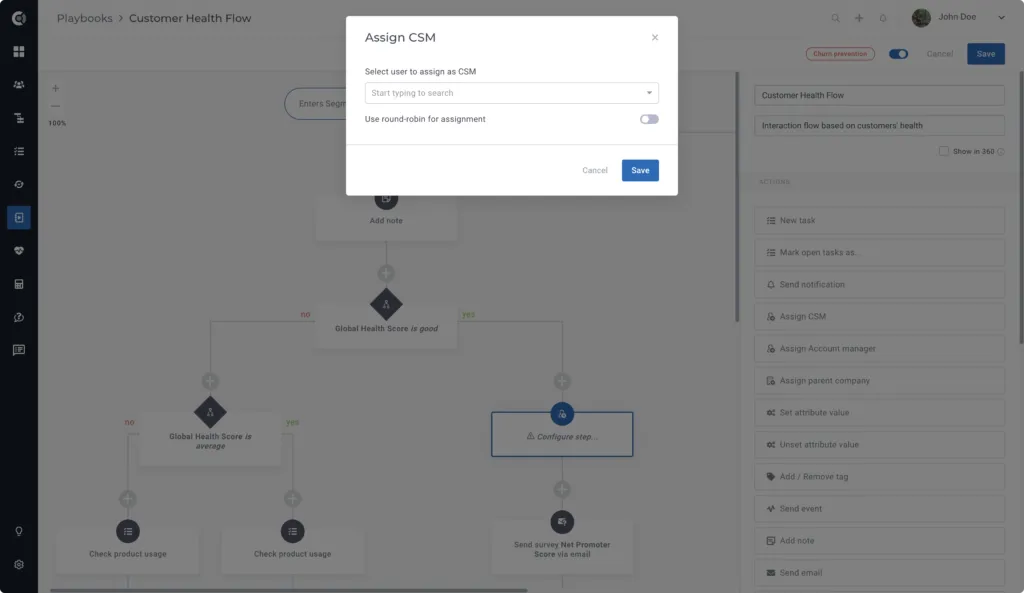
Once you selected the trigger of the Playbook, click on the + to add an action and select Assign CSM. Enable the option Use round-robin for assignment and select the Custify users that can be assigned as CSMs.
Using the CSM/Owner Field from HubSpot
If you have an active integration with HubSpot and use it to keep track of the CSM assignment, there is a way to automate it in Custify.
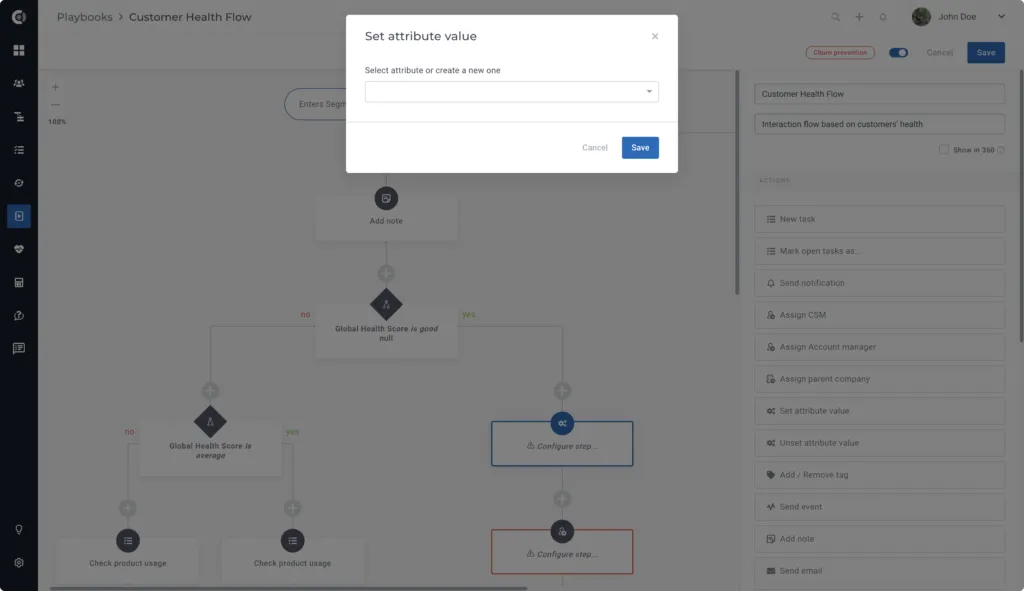
Firstly, build a new Playbook. Then, select your trigger, click on the + to add an action, and select Set attribute value.
Copy the value of the HubSpot CS Member Email to the Custify CSM attribute to dynamically populate the CSM based on the HubSpot data.